The GOOD Tile Roof Maintenance Program
Tile roofs are built to last, but valleys are the “stress zones” that carry concentrated water. When valleys collect debris or the waterproofing layers are aged, water backs up and finds a way under the system. The GOOD Program is designed to prevent that.
GOOD =
Get Valleys Clear. Observe the Details. Optimize Valleys With Upgrades. Document & Defend.
G — Get Valleys & Drainage Clear
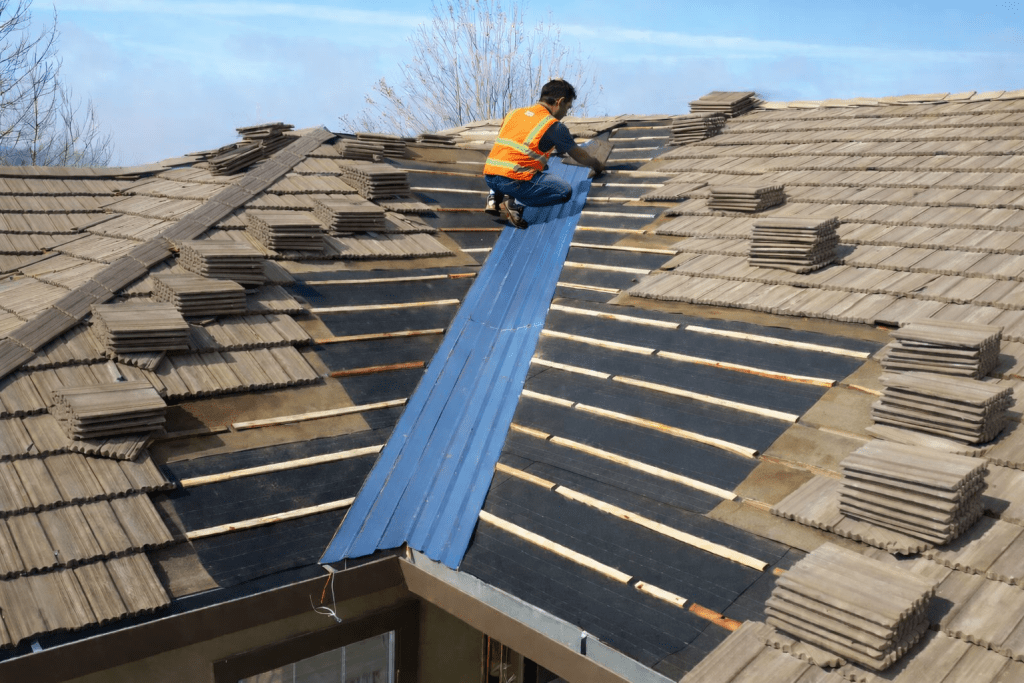
Valley debris dams are one of the most common hidden causes of tile roof leaks—because debris often builds up under the tiles, not just on top of them. To clear a tile valley correctly, we typically need to remove the valley-adjacent tiles first so we can access the valley channel and clear debris where it actually accumulates.
How this step works:
- Carefully remove tiles along the valley line
- Stage reusable tiles and set aside any cracked/damaged tiles for replacement
- Hand-remove leaves, needles, seed pods, silt, roof grit, and compacted organic buildup from the exposed valley
- Clear “pinch points” where tile cuts crowd the valley channel and trap debris
- Remove loose broken tile fragments and mortar debris that act like future dams
- Clean discharge points at eaves/gutters so water exits cleanly
- Reinstall valley tiles with proper clearance so the drainage path stays open
Why it matters: If water can’t drain freely, it backs up under tile and overloads the underlayment and valley metal—leading to leaks that can remain hidden until interior damage appears.
O — Observe the High‑Risk Details
Once valleys are clear, we inspect the details that actually control waterproofing in a tile system—especially in and around valleys.
What we inspect (valley-focused):
- Valley metal: corrosion, punctures, open seams, distortion, exposed fasteners, improper laps
- Underlayment risk zones: wear points, brittle areas, prior patching, vulnerable transitions
- Tile alignment near valleys: lifted/slipped tiles, uneven courses, low spots that trap debris
- Transitions: where valley meets eaves/gutters, sidewalls, headwalls, and nearby penetrations
- Clues of water behavior: staining, silt lines, ponding marks, algae patterns
Why it matters: Most valley leaks leave evidence long before the ceiling shows it—if you know where to look.
O — Optimize the Valley With Upgrades
This is the difference between “cleaning a roof” and preventing repeat valley leaks. When we see valley conditions that are likely to fail—or a valley has already leaked—we recommend upgrading the valley assembly so it can handle real-world water volume, debris events, and wind-driven rain.
Depending on roof design, tile type, and conditions found:
- New ribbed valley metal
- Upgraded, purpose-formed valley metal to improve water control and reduce splash/turbulence
- Properly detailed laps, edges, and terminations so water stays in the channel and exits cleanly
- Ice & water leak barrier in the valley
- Self-adhered membrane installed to protect against wind-driven rain and temporary backup from debris
- Correctly integrated with adjacent underlayment and transitions
- New battens in the valley zone (as needed)
- Replacement of moisture-compromised battens near the valley
- Proper setback/clearance so battens don’t create a choke point or debris trap
- Underlayment repair/replacement in the affected area (as needed)
- Removal of deteriorated materials and installation of updated waterproofing layers where the valley demands the most protection
- Tile reset/replacement and correct valley clearance
- Reinstall tiles so the valley remains an open drainage path
- Replace broken/cracked tiles (especially at cuts) and secure tiles appropriately
- Final drainage verification + photo documentation
- Confirm proper flow top-to-bottom with clean discharge at the eave/gutter line
Why it matters: Valleys don’t usually fail because one tile cracked—they fail because the valley system beneath the tile is under-built, aged, or repeatedly overwhelmed. Upgrading the valley assembly is how you stop the cycle
D — Document & Defend Your Roof
Professional maintenance should leave you with a record—not a guess.
What you receive:
- Before/after photos of valley conditions and work performed
- A clear findings summary and priority list (Now / Soon / Monitor)
- Recommended maintenance interval based on trees, pitch, and roof layout
- Guidance on post-storm checks and what changes to watch for over time
Why it matters: Documentation protects your roof investment, helps prevent repeat problems, and makes future decisions easy and informed.